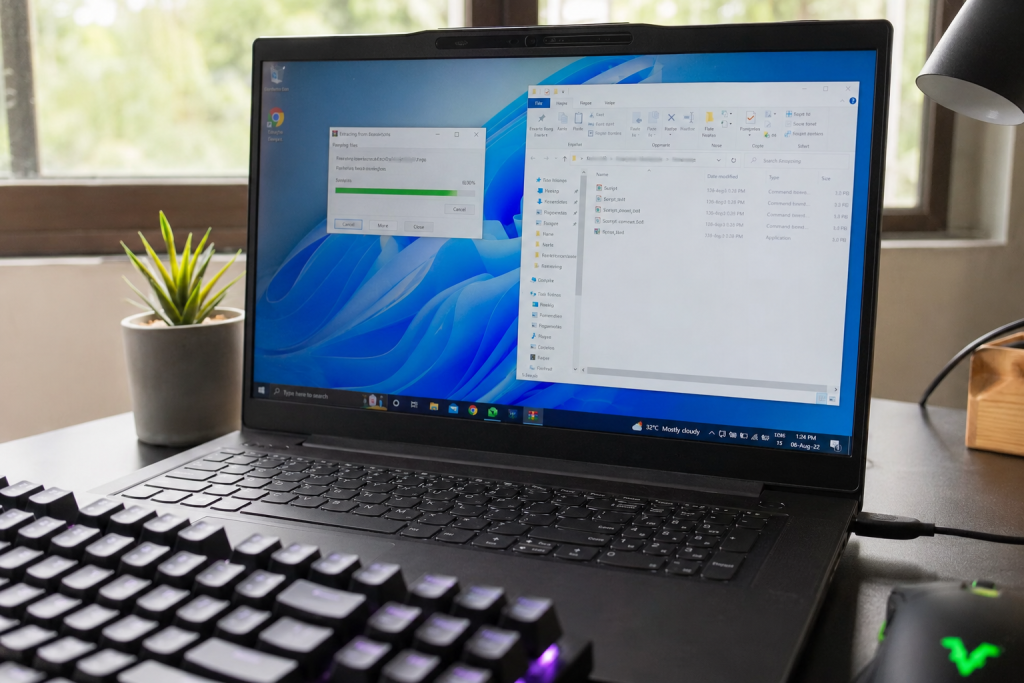
Here’s how to install GoodbyeDPI in under five minutes: download the release archive, pick the right batch script for your network, and run it with administrator rights. GoodbyeDPI itself is a free, open-source Windows utility that fragments and modifies outgoing packets so that deep packet inspection (DPI) systems can’t classify or block your traffic.
How to Install GoodbyeDPI: Quick Overview
- Download the latest release from GitHub
- Extract the archive to a permanent folder
- Choose the script that matches your region/ISP
- Run the script (or the service installer) as administrator
- Verify a previously blocked site now loads
The rest of this guide walks through each step in detail, plus fixes for the errors people run into most often.
What Is GoodbyeDPI?
GoodbyeDPI is an open-source circumvention tool built on the WinDivert packet-filtering driver. Developer ValdikSS first released it in 2016 to study DPI-based filtering, and it has since become one of the most widely used passive and active DPI bypass tools for Windows.
- Developer: ValdikSS
- License: Apache License
- Platform: Windows XP SP3 and later
- Core mechanism: HTTP/HTTPS packet fragmentation, host header manipulation, and TCP tricks that prevent DPI engines from correctly parsing the handshake
GoodbyeDPI doesn’t change your IP address and doesn’t route traffic through a remote server. It only reshapes local packets, so it can’t bypass geo-blocks that check where your public IP is located — for that you’d still need a VPN or proxy.
System Requirements
Before installing, confirm your setup meets these baseline requirements.
| Requirement | Detail |
|---|---|
| OS | Windows XP SP3 or later (Windows 10/11 recommended) |
| Privileges | Administrator access required |
| Driver | WinDivert (bundled in the release archive) |
| Antivirus | Some antivirus products (e.g., ESET) can conflict with the WinDivert driver |
| Network hardware | Killer network cards need “Advanced Stream Detect” disabled in Killer Control Center |
Step 1: Download the Latest Release
Show Image
Go to the official GoodbyeDPI releases page on GitHub and download the newest ZIP archive rather than cloning the source repository — the release build already contains the compiled executable and driver files you need.
Official repository: github.com/ValdikSS/GoodbyeDPI/releases
Avoid third-party mirrors or “setup.exe” bundles from unrelated sites. Since GoodbyeDPI directly manipulates network traffic at the driver level, only fetch it from the source repository or a fork you’ve personally vetted. If you’re new to DPI circumvention tools in general, our guide to what deep packet inspection is covers the background before you dive into setup.
Step 2: Extract the Archive
- Right-click the downloaded ZIP file and choose Extract All.
- Move the extracted folder somewhere permanent, such as
C:\GoodbyeDPI, instead of leaving it in your Downloads folder. - Open the folder — you’ll see the main executable (
goodbyedpi.exe), the WinDivert driver files, and several.cmdscripts.
Step 3: Choose the Right Script for Your Region
GoodbyeDPI ships with several ready-made .cmd launcher scripts, each tuned to a different DPI environment. Picking the correct one matters more than any other setting.
For general international use: Run 2_any_country_dnsredir.cmd. This preset targets active DPI systems outside Russia and redirects DNS to avoid poisoned responses.
For Russian ISPs: Run 1_russia_blacklist_dnsredir.cmd. This preset is tuned against the passive and active DPI systems commonly deployed by Russian providers.
For manual/advanced control: Run goodbyedpi.exe directly from a terminal with specific flags instead of a preset script.
Step 4: Run the Script as Administrator
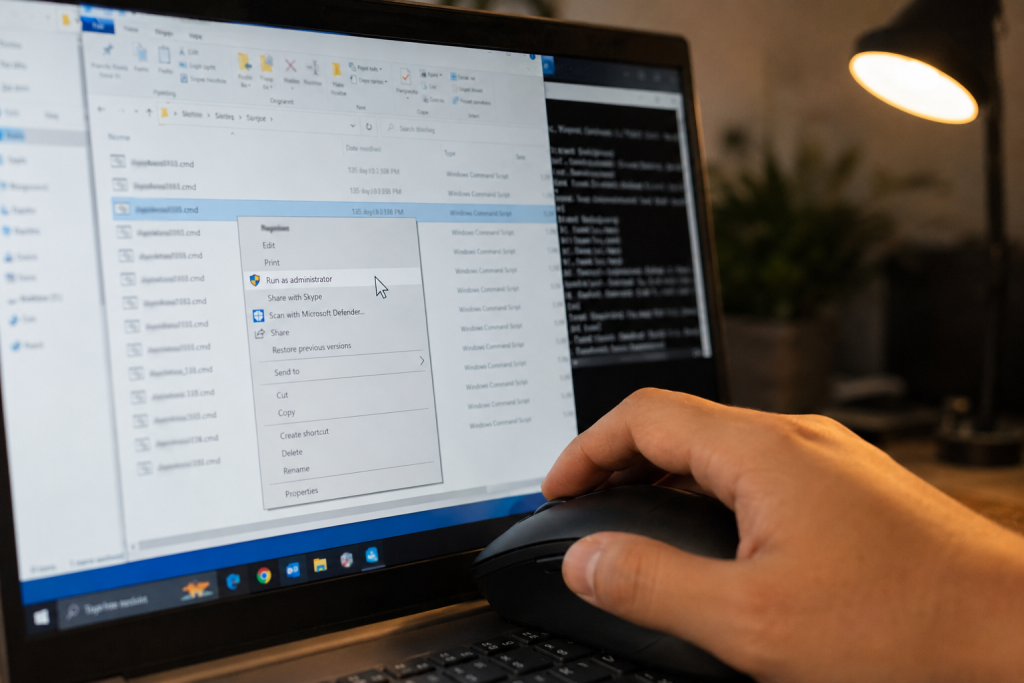
- Right-click your chosen
.cmdfile. - Select Run as administrator.
- A console window opens and stays open while GoodbyeDPI is active — closing it stops the packet filtering.
If you’d rather not keep a terminal window open at all times, install GoodbyeDPI as a persistent Windows service instead.
For persistent background operation: Right-click service_install.cmd and run it as administrator. This registers GoodbyeDPI as a Windows service that starts automatically with the system, so you don’t need to manually launch a script each session.
To remove the service later, run the matching service_remove.cmd file included in the archive.
Step 5: Verify It’s Working
Once the script is running, open a browser and load a site that was previously blocked or throttled by your ISP’s DPI filter.
- If the site loads normally: the active preset is compatible with your ISP’s DPI implementation.
- If it still fails: close the current script and try a different numbered mode.
Testing Manual Modes
Run goodbyedpi.exe directly with these flags to test compatibility one at a time:
| Flag | Effect |
|---|---|
-1 | Baseline mode; test first |
-2 | Optimized for HTTPS sites |
-3 | Optimized for HTTP sites |
-4 | Fastest mode, but compatible with fewer DPI systems |
-p | Blocks passive DPI redirect/reset packets |
-f [value] | Sets HTTP fragmentation size |
-e [value] | Sets HTTPS fragmentation size |
Run goodbyedpi.exe -h at any time to see the full, current list of flags for your downloaded version, since options are occasionally added between releases.
Troubleshooting Common Installation Issues
WinDivert driver won’t load on Windows 7. Older Windows 7 builds lack SHA-256 driver signature support. Install update KB3033929, or update the system through Windows Update entirely.
HTTPS sites won’t open. Some SSL/TLS stacks can’t handle fragmented ClientHello packets. This was patched in GoodbyeDPI v0.1.7 and later — make sure you’re on a current release.
Antivirus flags or blocks the driver. ESET and similar antivirus products have known conflicts with the WinDivert driver. Add an exception for the GoodbyeDPI folder, or temporarily disable real-time protection while testing.
Trading or specialized network software stops working. Software like QUIK can conflict with GoodbyeDPI if launched afterward. Start QUIK (or similar software) first, then start GoodbyeDPI.
GUI Alternatives
If you’d rather not manage .cmd scripts and flags manually, several community-built graphical front-ends wrap the same GoodbyeDPI engine with a point-and-click interface, preset switching, and one-click install/remove buttons. These are third-party projects, separate from the official ValdikSS repository, so review each one’s source and recent activity before trusting it with administrator privileges.
Frequently Asked Questions
Does GoodbyeDPI work on macOS or Linux? No. GoodbyeDPI depends on the WinDivert driver, which is Windows-only. Linux users typically look at comparable tools like zapret for similar packet-fragmentation behavior.
Will GoodbyeDPI bypass geo-restricted content? No. It only reshapes packets to defeat content-based filtering; it doesn’t mask or change your IP address, so IP-based geo-blocks still apply.
Is GoodbyeDPI safe to run long-term as a service? Yes — running it via service_install.cmd is the standard way to keep it active across reboots without manual intervention, and it can be removed cleanly with the matching removal script.
Do I need a VPN alongside GoodbyeDPI? Not necessarily. They solve different problems: GoodbyeDPI defeats content inspection on your existing connection, while a VPN also hides your IP and encrypts traffic through a remote server. Some people run both together.
Recap: How to Install GoodbyeDPI
To summarize how to install GoodbyeDPI: download the latest release from GitHub, extract it to a permanent folder, pick the script that matches your region, and run it (or the service installer) as administrator. From there, verifying that a previously blocked site loads confirms the setup worked.
